Scratch 3.0 is next version of Scratch which is popular programming environment. Here is a step by step procedure to create the Scratch 3.0 server running on Mac. It’s useful to hosts for small size of workshop or in case of network is not available, or multi devices.
Why VirtualBox? Apatch server has installed in macOS. So, it can be hosted a web server as default. But It is not recommend because security risk. In case of VirtualBox, your personal data is safe due to isolate from web server. In addition, install and uninstall is very easy.
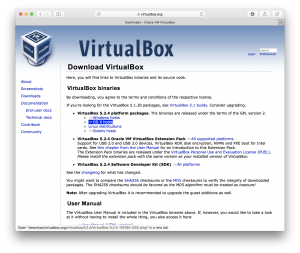
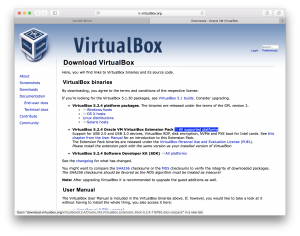
VirtualBox (for macOS) download
1. dmg file download: Version 5.2.4 r119785
Go to https://www.virtualbox.org/wiki/Downloads , Click OS X hosts , “VirtualBox-5.2.4-119785-OSX.dmg” will be downloaded.
2. Double click “VirtualBox-5.2.4-119785-OSX.dmg” and then double click “VirtualBox.pkg” to start install.
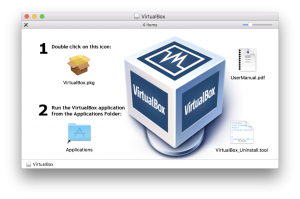
* If you have an install failed, check the Security & Privacy.
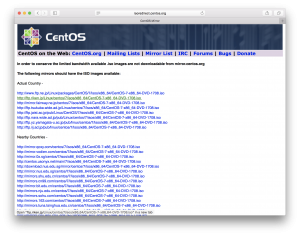
CentOS download
1. Go to https://www.centos.org/download/, click DVD ISO, click http://ftp.riken.jp/Linux/centos/7/isos/x86_64/CentOS-7-x86_64-DVD-1708.iso, file will be download.
VirtualBox VM Create
1. Launch VirtualBox application
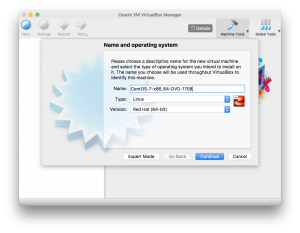
2. [New] -> Name: CentOS-7-x86_64-DVD-170 -> [Continue]
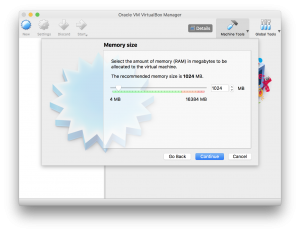
3. Memory size -> [Continue] -> Hard Disk -> Create
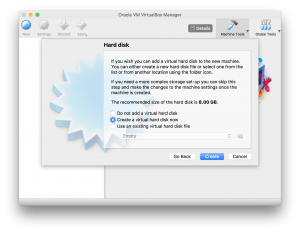
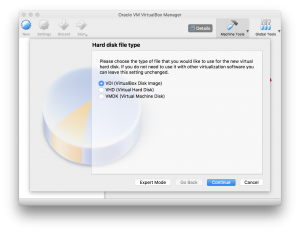
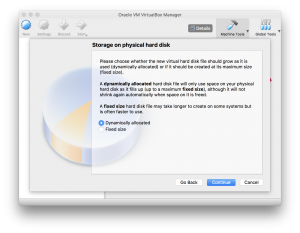
4. Hard disk file type -> [Continue] -> Storage on physical hard disk -> [Continue]
5. File location and size -> [Create] -> VM Create completed


VirtualBox VM Setup
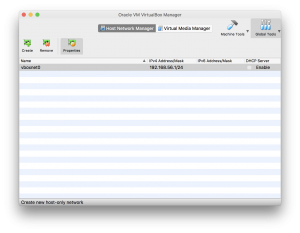
1. [Global Tools] -> [Host Network Manager] -> [Create] -> vboxnet will be created. -> Uncheck DHCP Server.
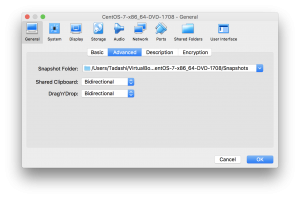
2. Back to [Machine Tools] -> [Settings] -> [General] -> [Advanced],
Shared Clipboard: Bidirectional
Drag’n’Drop: Bidirectional
-> [OK]
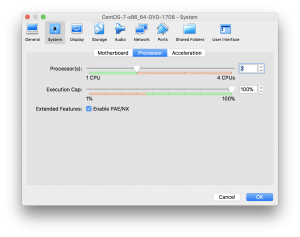
3. [Settings] -> [System] -> [Processor] : 2 (*depends on your Macbook) -> [OK]
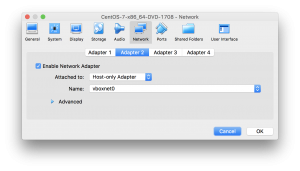
4. [Settings] -> [Network] -> [Adapter 2]
check “Enable Network Adaptor”
Select: Attached to the “Host-only Adapter”
-> [OK]
* When connecting iPhone, Network Adaptor should be changed to the Bridge Adapter which should be assigned to Adapter 3.
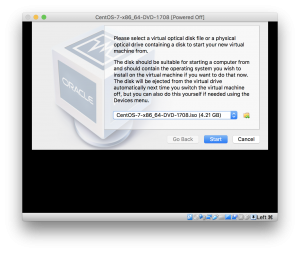
5. [Start] -> select “CentOS-7-x86_64-DVD-1708.iso” -> [Start]
CentOS Configuration
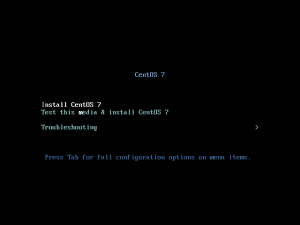
1. Select “Install CentOS 7” -> Return
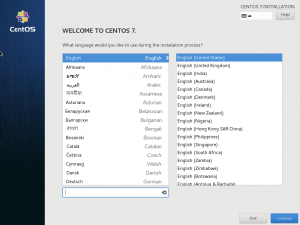
2. Select language for setup. English -> [Continue]
* To switch to the operating Mac window from VirtualBox window, press “command”.
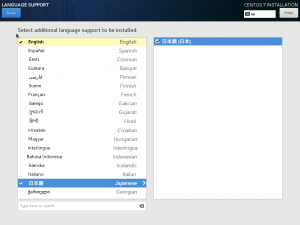
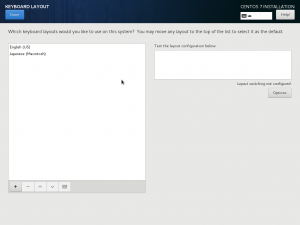
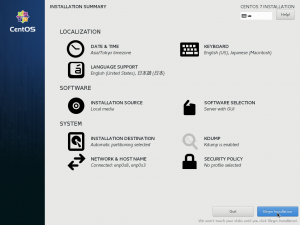
3. [LANGUAGE SUPPORT] -> Add Japanese -> [Done]
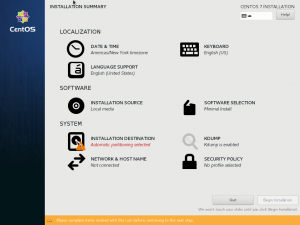
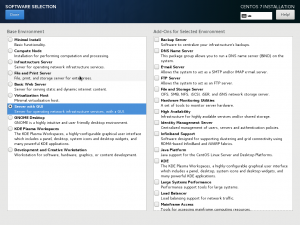
4. [SOFTWARE SELECTION] -> Server with GUI -> [Done]
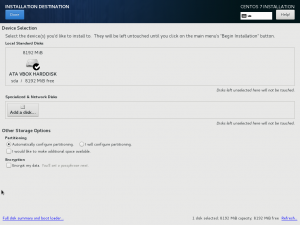
5. [INSTLATION DESTINATION] -> [Done]
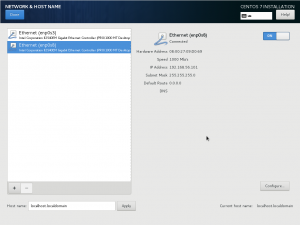
6. [NETWORK AND HOSTNAME]
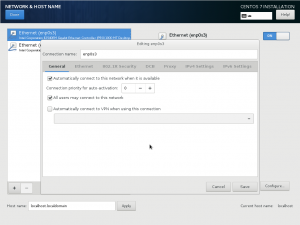
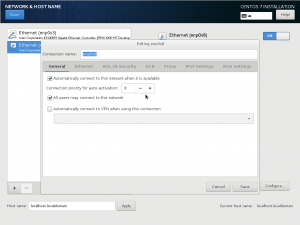
-> enp0s3 -> [ON], [Configure…] -> [General] -> check “Automatically connect this network when it is available”
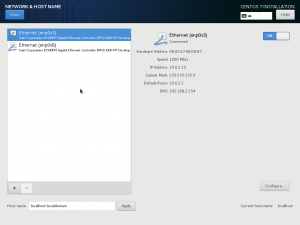
-> enp0s8 -> [ON] -> [Configure] -> [General] -> check “Automatically connect this network when it is available”
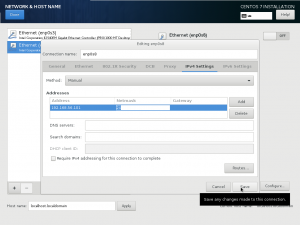
-> [IPv4 Settings] -> [Method:] -> [Manual] -> [Add] -> 192.168.56.101, 24 -> [Save]
* After set as NetMask as 24, click Gateway box to appear “Save” button.
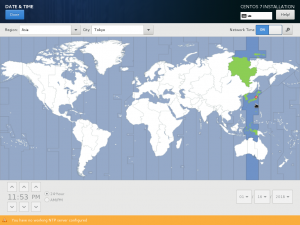
7. [DATE & TIME] -> set Time & Zone -> [Done]
8. [KEYBOARD] -> Add Japanese -> [Done]
9. [Begin Installation]
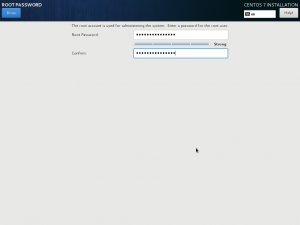
10. [ROOT PASSWORD] -> ********** -> [Done]
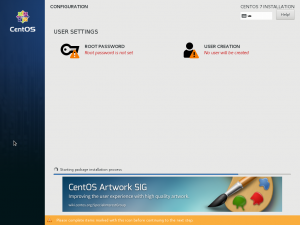
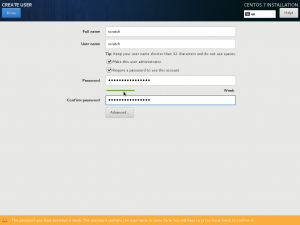
11. [USER CREATION] ->
Full Name, User Name, check “Make this user administrator”, Password *1
-> [Done]
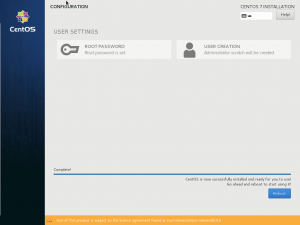
12. Completed -> [Reboot]
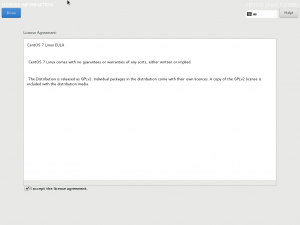
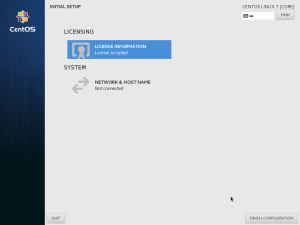
13. [LICENSE INFORMATION] ->
check “I accept the license agreement”
-> [Done]
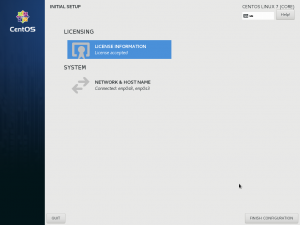
14. [FINISH CONFIGURATION]
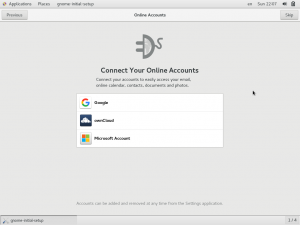
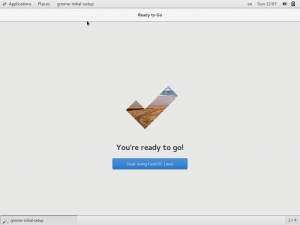
CentOS User Settings
1. Login -> Enter Password *1 -> [Next]
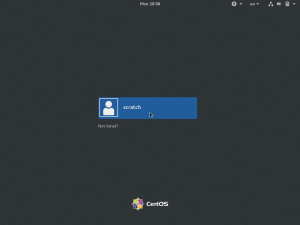
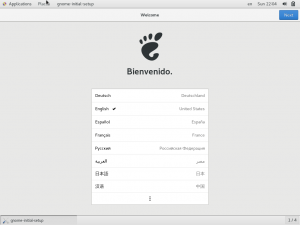
-> Select Japanese -> [Next] -> [Next]
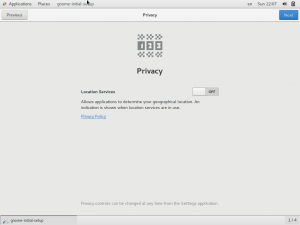
-> [Skip] -> [Start using CentOS Linux] -> [X]
Guest Addition CD Image Install
1. Open Terminal -> yum update
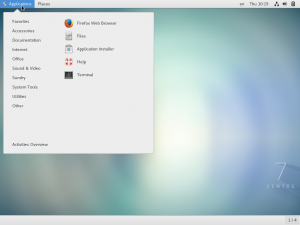
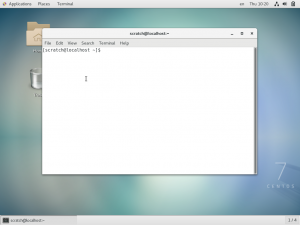
[scratch@localhost ~]$ sudo yum upadte
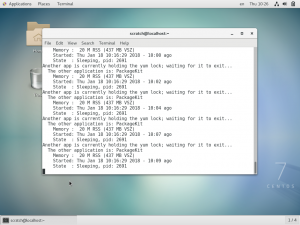
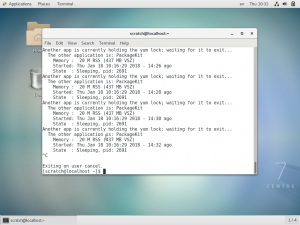
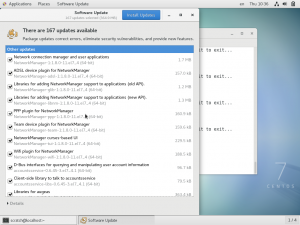
* If “Another app currently holding the yum lock; waiting for it to exit…” display in the terminal, stop yum command by CTRL + C. Then “Application” -> “System Tools” -> “Software Update” launch. and waiting.
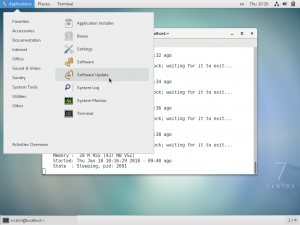
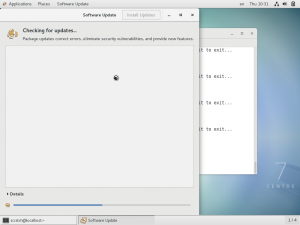
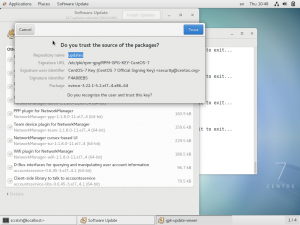
After a short time, “Install Updates” button will be displayed, then click it and wait to complete. If you asked “Trust?”, press “Trust”.
2. Adds package for to install CD Image
[scratch@localhost ~]$ sudo yum install kernel-devel kernel-headers gcc gcc++
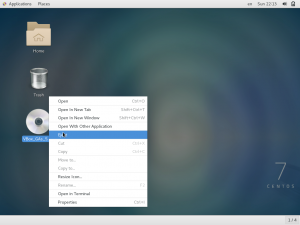
3. [Devices] -> [Insert Guest Additions CD Image…] -> [Run] -> [Return]
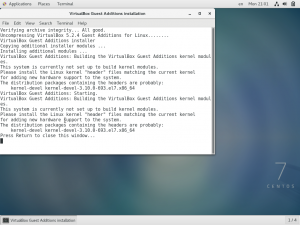
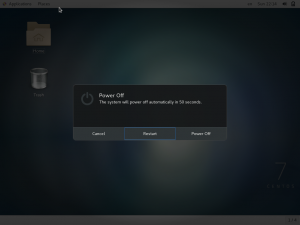
4. Disk Reject -> Power Off
Guest Addition CD Image Install to VirtualBox
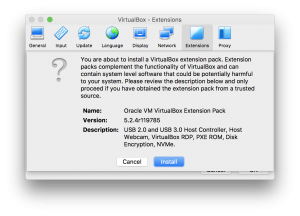
1. Download Extension Pack, Go to https://www.virtualbox.org/wiki/Downloads, VirtualBox 5.2.4 Oracle VM VirtualBox Extension Pack All supported platforms click and download.
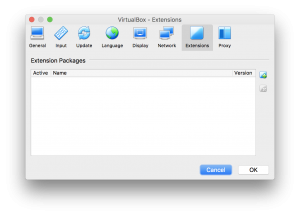
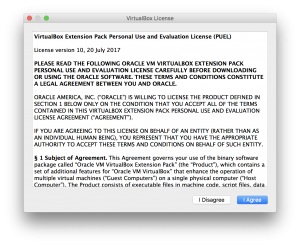
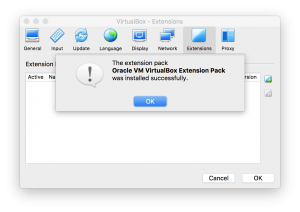
2. VirtualBox [Preference] ->[Extension] -> [+] -> select “Oracle_VM_VirtualBox_Extension_Pack-5.2.4-119785.vbox-extpack” -> [Install] -> [I Agree] -> Input password -> [OK] -> [OK]
3. [Start] … Cursor can move seamlessly.
Go to: Setup Scratch 3.0 server on the VirtualBox, CentOS, for macOS – 2/2

