JupyterHub, a multi-user Hub, spawns, manages, and proxies multiple instances of the single-user Jupyter notebook server. Here is a setup guide for using Pyenv + Anaconda on the AWS EC2.
AWS setup
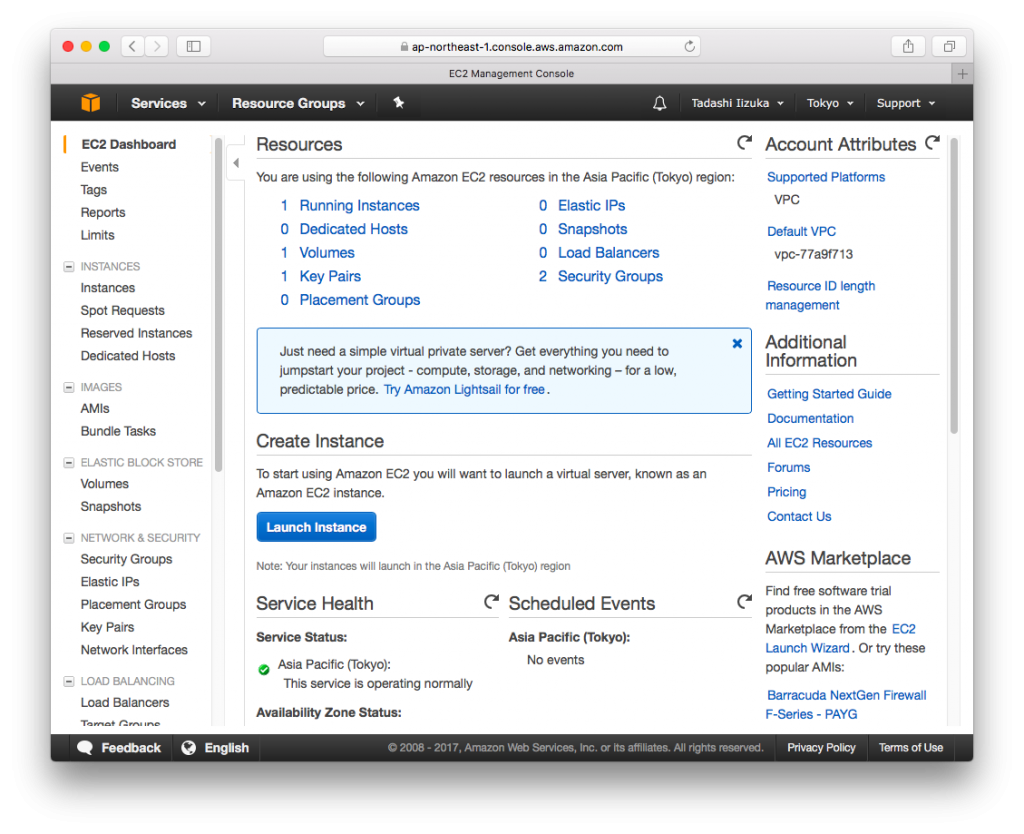
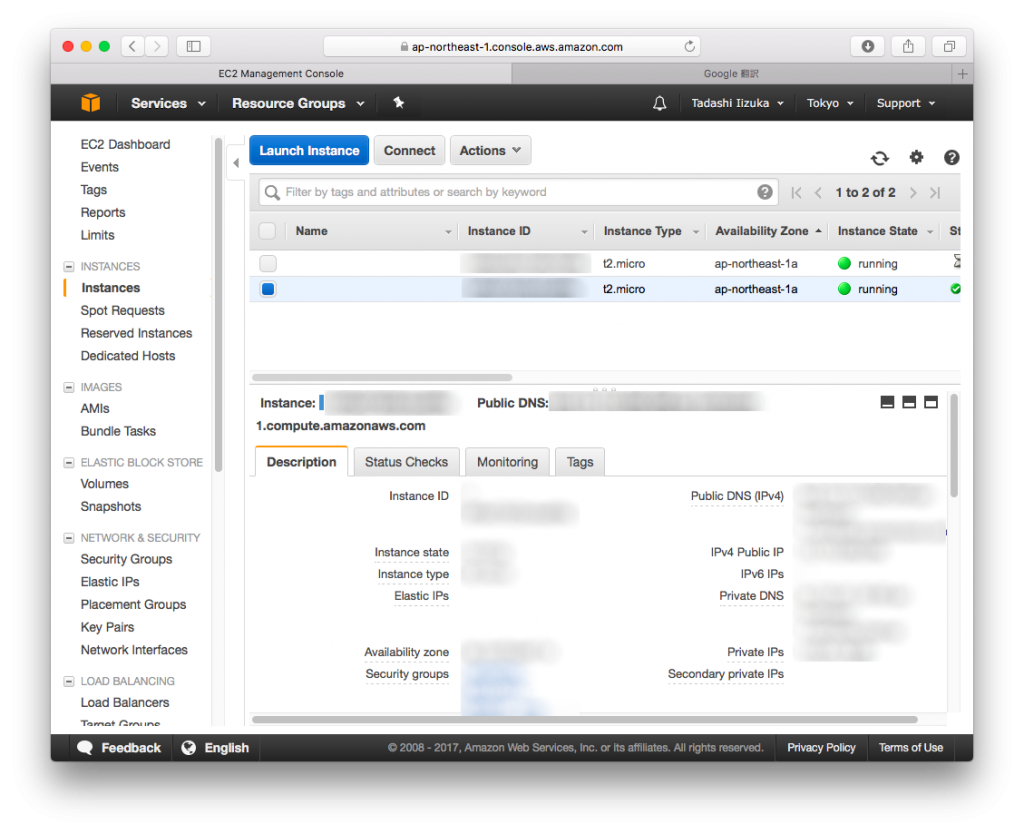
- Login to the AWS console, and selected EC2 Dashboard, Click [Launch instance]
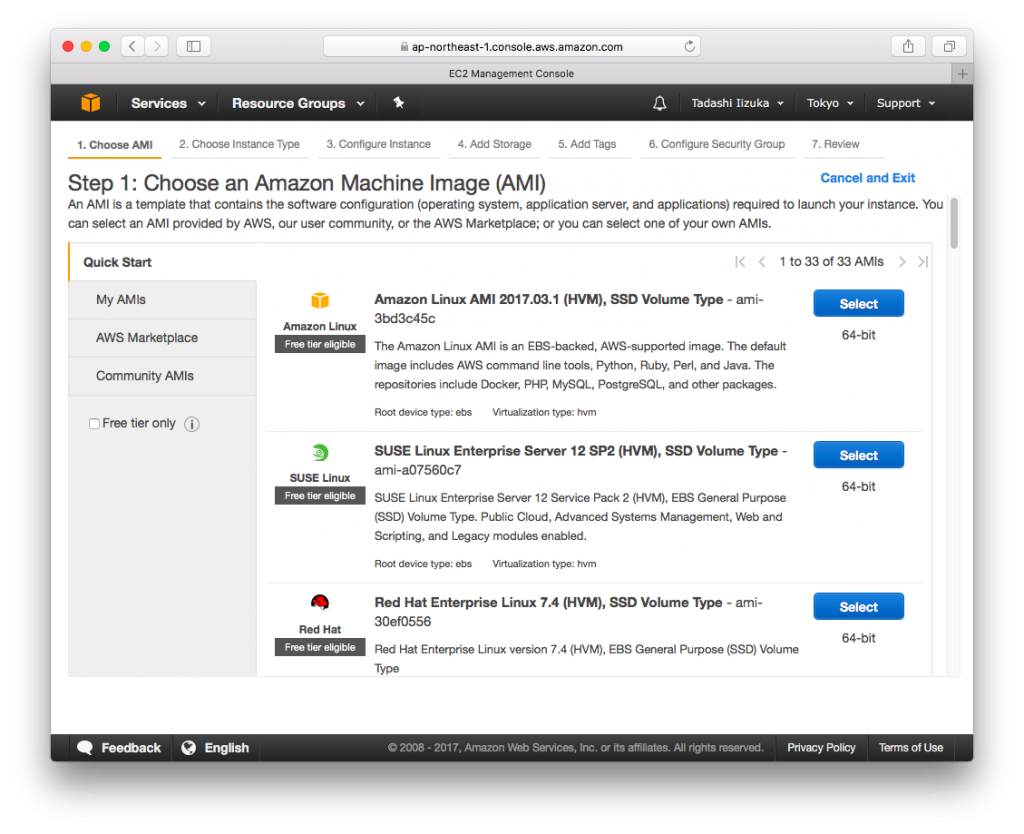
- Amazon Linux AMI 2017.03.1 (HVM), SSD Volume Type Click [Select]
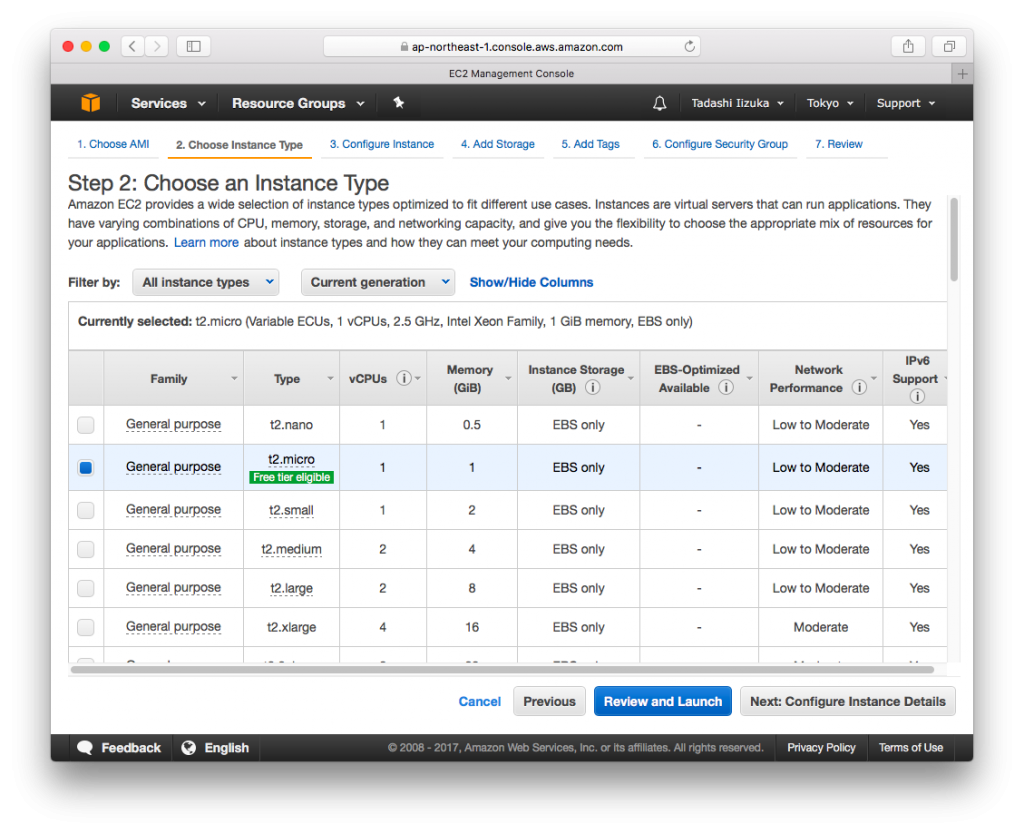
- Select the t2.micro (Free tier eligible) , Click [Next: Configure Instance Details]
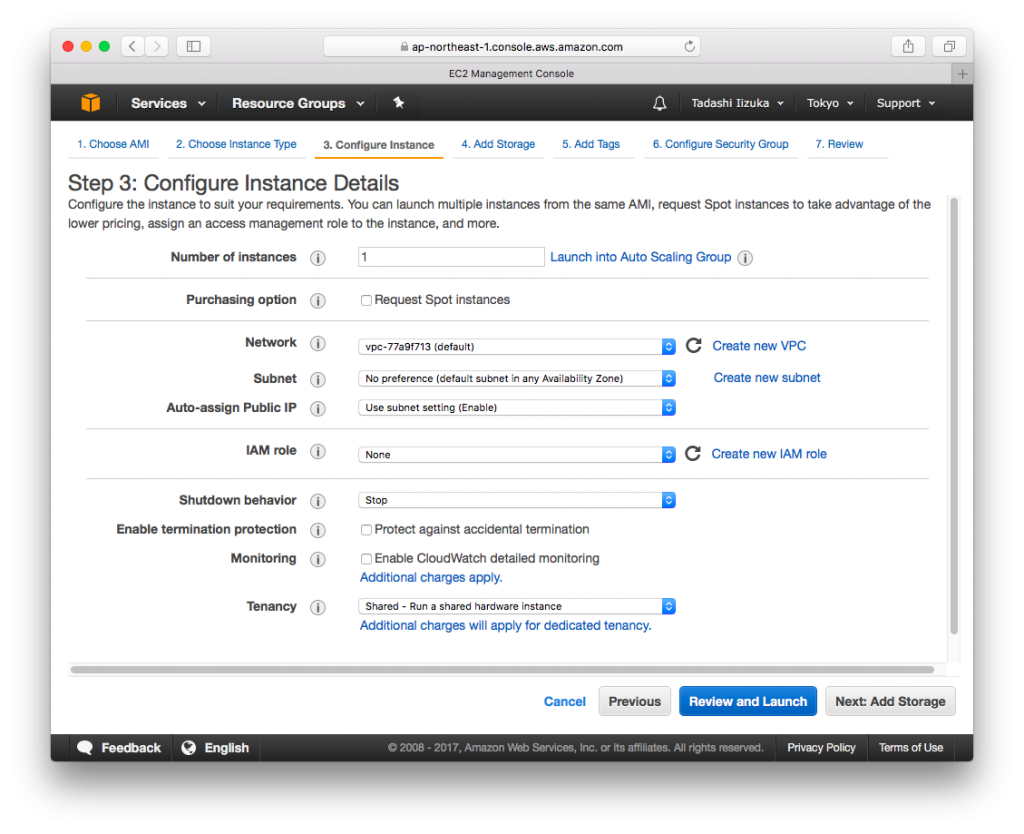
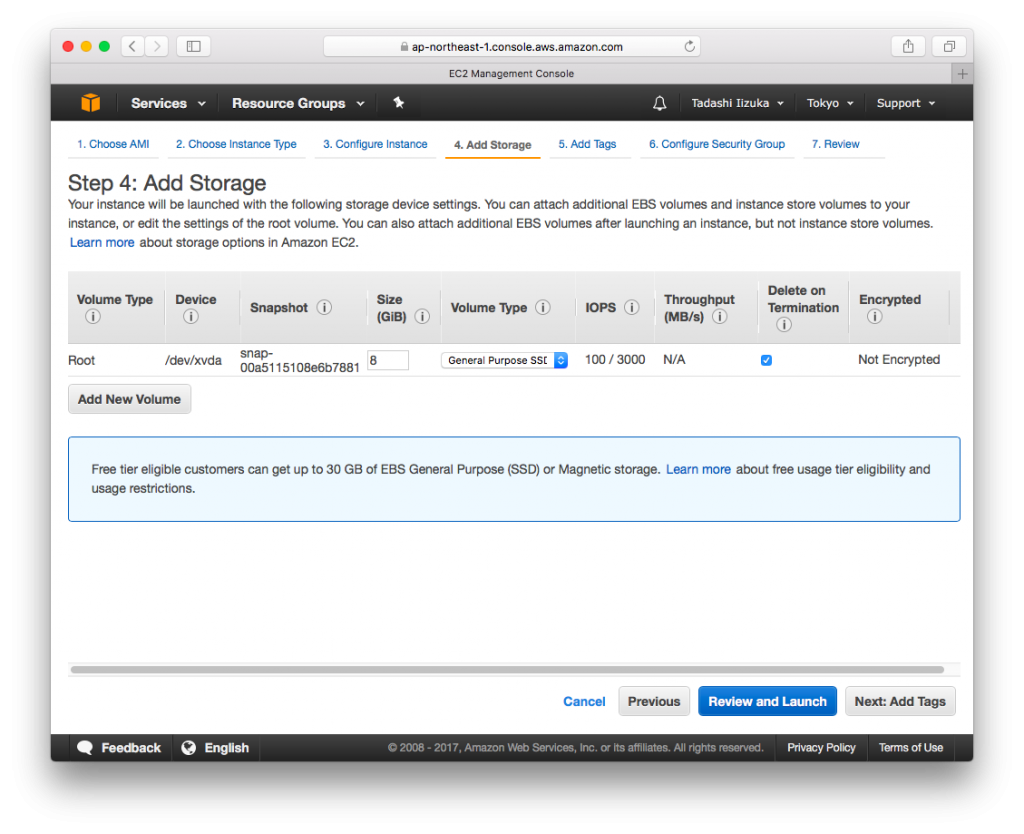
- Click [Next: Add Storage]
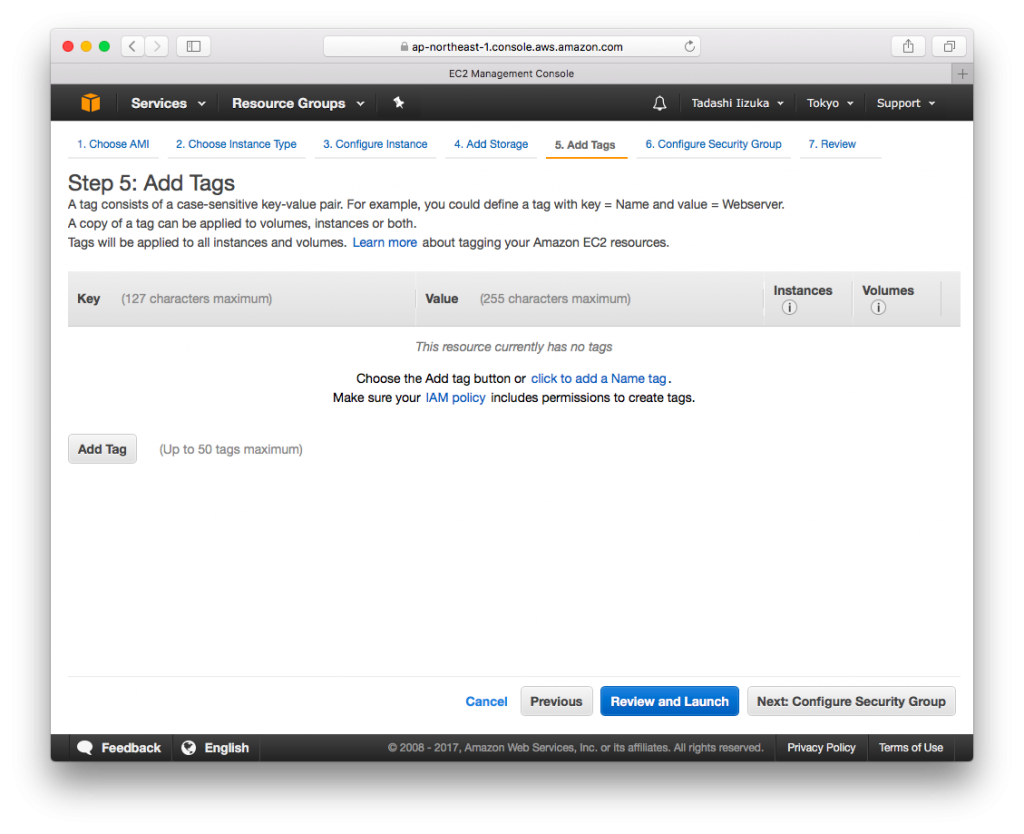
- Click [Next: Add Tags]
- Click [Next: Configure Security Group]
- Create a new security group, change [Security group name:] as you want, Add Type, SSH, Custom TCP Rule, as below. Then Click [Review and Launch]

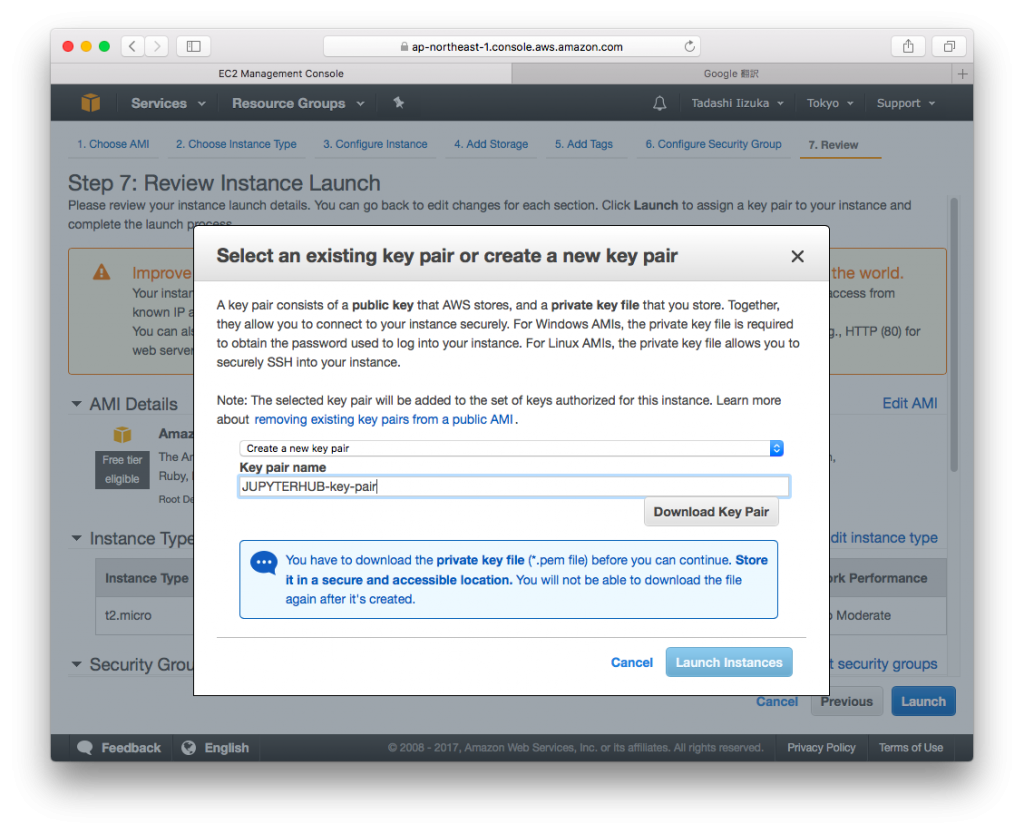
- Click [Launch], Create a new key pair, Input [Key pair name] as you want, then Click [Download Key Pair], Then Click [Launch Instances]
- Click [View Instances]
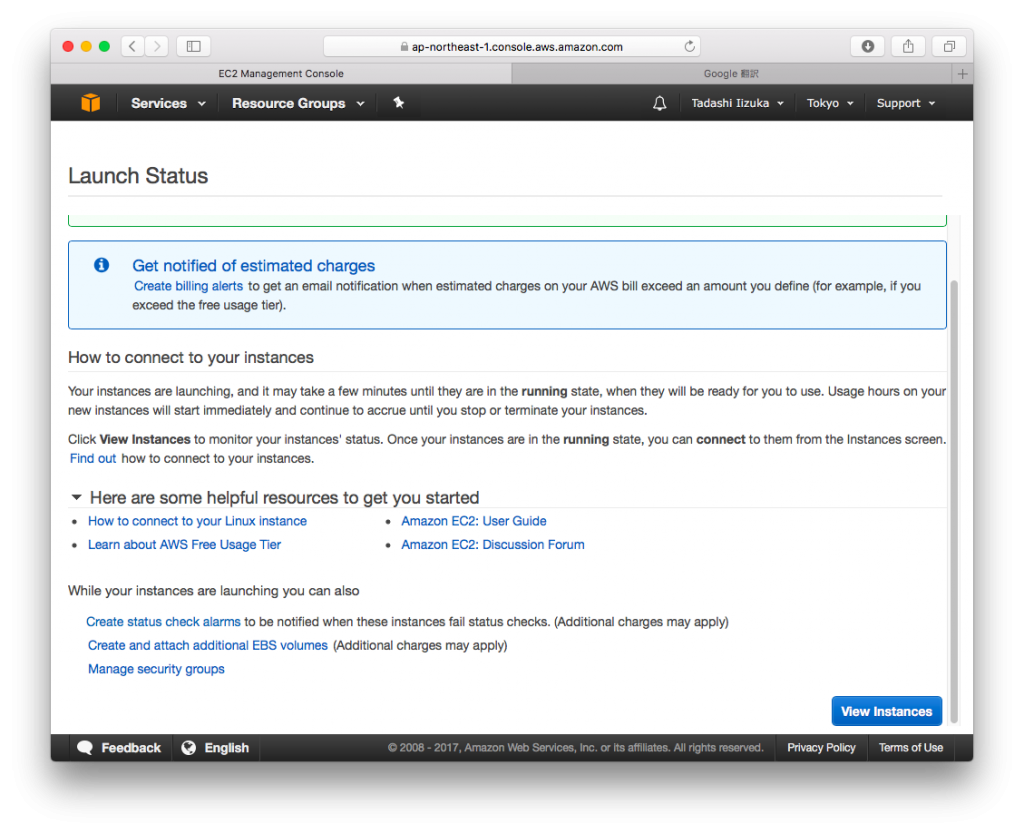
- Wait for a while utile the Status Check will be changed to the “2/2 checks passed”. AWS EC2 setup has completed. “Public DNS (IPv4)” will be used for SSH Login.
Pyenv setup
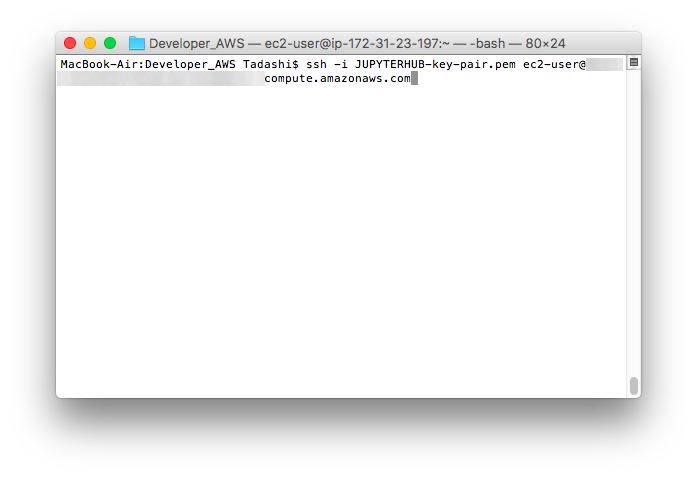
- ssh -i JUPYTERHUB-key-pair.pem ec2-user@[Public DNS(IPv4)]
$ sudo yum update

$ sudo su

# yum install gcc gcc-c++ make git openssl-devel bzip2-devel zlib-devel readline-devel sqlite-devel

# cd /opt

# git clone https://github.com/yyuu/pyenv.git pyenv

# echo 'export PYENV_ROOT="/opt/pyenv"' >> ~/.bashrc
# echo 'if [ -d "${PYENV_ROOT}" ]; then' >> ~/.bashrc
# echo '    export PATH=${PYENV_ROOT}/bin:$PATH' >> ~/.bashrc
# echo '    eval "$(pyenv init -)"' >> ~/.bashrc
# echo 'fi' >> ~/.bashrc

# exec $SHELL -l
Anaconda install
# pyenv install anaconda3-4.4.0

# pyenv global anaconda3-4.4.0

# python --version
Python 3.6.1 :: Anaconda 4.4.0 (64-bit)
JupyterHub install
# conda install -c conda-forge jupyterhub

# conda install notebook
JupyterHub setup
# mkdir /etc/jupyterhub

# cd /etc/jupyterhub

# jupyterhub --generate-config

# vi jupyterhub_config.py

#c.Spawner.notebook_dir = ''
c.Spawner.notebook_dir = '~/notebook'
Startup setup
# echo jupyterhub -f /etc/jupyterhub/jupyterhub_config.py > jupyterhub.sh

# echo su -l root /etc/jupyterhub/jupyterhub.sh \& >>/etc/rc.local
JupyterHub user setup
# adducer testuser

# passwd testuser
Changing password for user testuser.
New password:
Retype new password:
passwd: all authentication tokens updated successfully.

# reboot

* ssh -i JUPYTERHUB-key-pair.pem ec2-user@[Public DNS(IPv4)]

$ mkdir notebook

$ sudo passed ec2-user
Changing password for user ec2-user.
New password:
Retype new password:
passwd: all authentication tokens updated successfully.

$ sudo su - testuser

$ mkdir notebook
Check whether can login
- http://[Public DNS(IPv4)]:8000
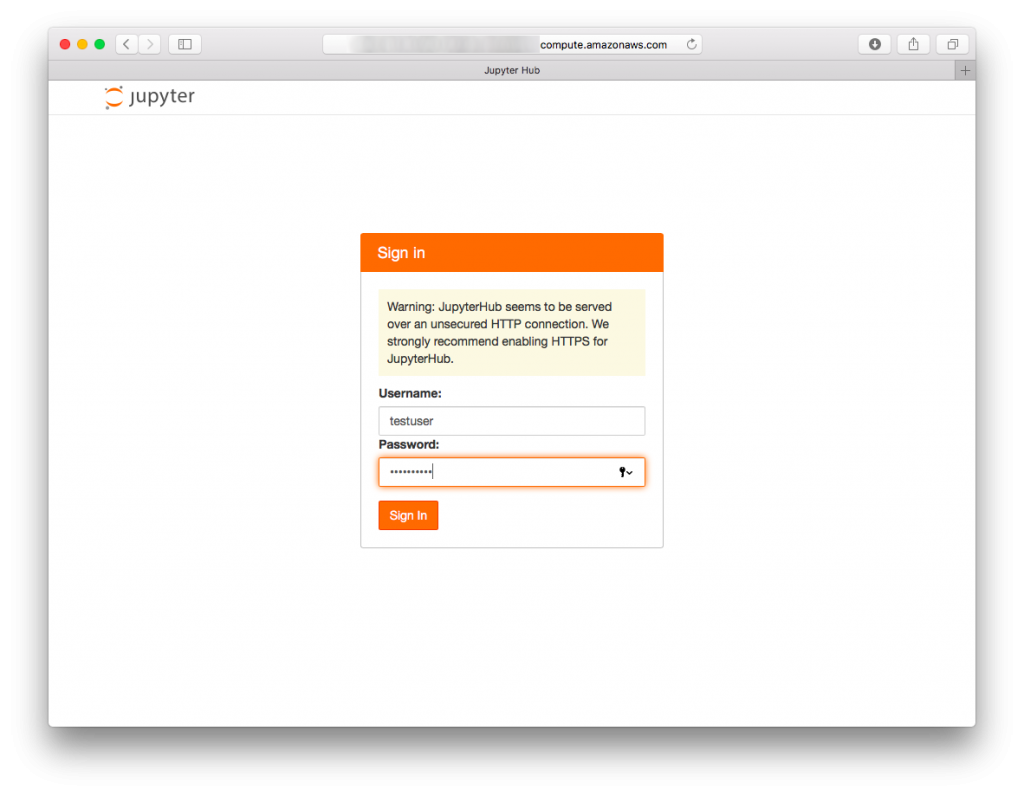
- Login completed
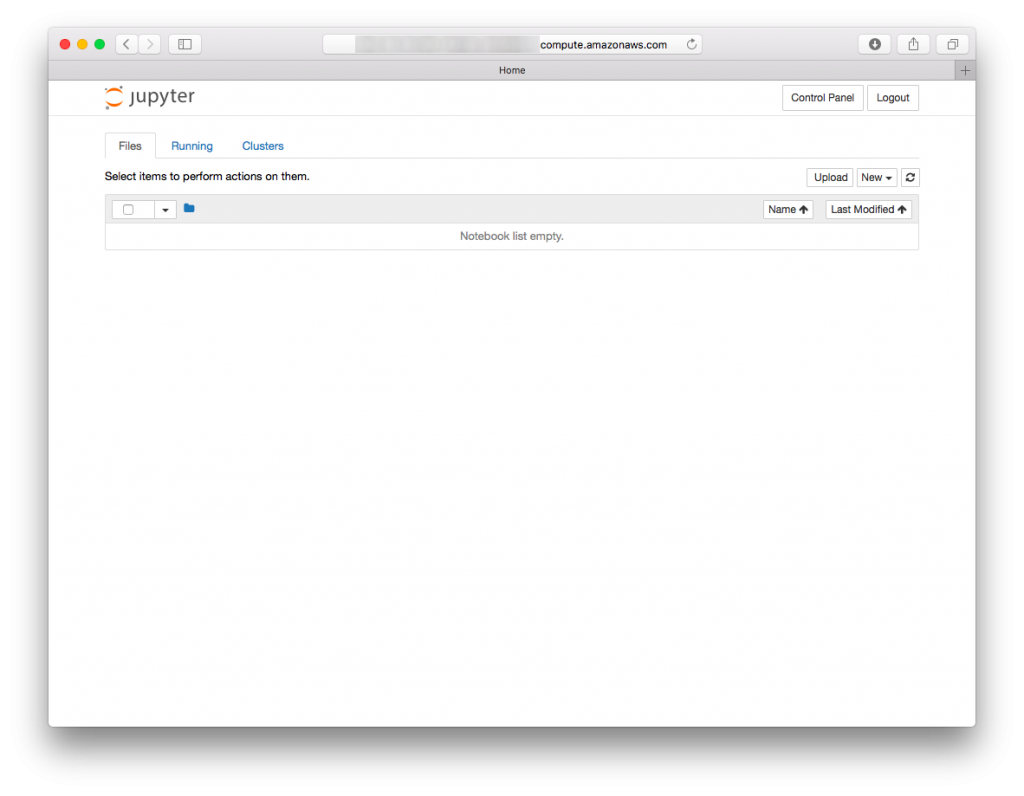
If you can see like this screen, all setup has been completed. After completed setup, you can add additional user by using “adduser” command.