To experiment purpose, the neural-style which get artistic image combine two images by using Neural Algorithm. Many articles were used Ubuntu distro. But this memo is for CentOS 7.
Environments: *This memo doesn’t include VirtualBox and Vagrant install procedure, Please refer other articles.
VirtualBox: Version 5.2.6 r120293 (Qt5.6.3)
Vagrant: 2.0.2
1. Create vagrant box and modify Vagrant file
MacBook-Pro:torch7_temp Tadashi$ vagrant init centos/7
Modify the Vagrantfile like below.
  config.vm.synced_folder "./data", "/vagrant/data", type: "rsync"
  config.vm.provider "virtualbox" do |vb|
    vb.cpus = 2
    vb.memory = "4096"
  end
then “vagrant up” then “vagrant ssh”
2. Install Torch7
After login, first update packages, then install Torch7. see detail.
[vagrant@localhost torch]$ sudo yum -y update
[vagrant@localhost torch]$ sudo yum -y install git wget
[vagrant@localhost torch]$
[vagrant@localhost torch]$ git clone https://github.com/torch/[vagrant@localhost torch]$ distro.git ~/torch --recursive
[vagrant@localhost torch]$ cd torch
[vagrant@localhost torch]$ bash install-deps
[vagrant@localhost torch]$ ./install.sh
[vagrant@localhost torch]$ Do you want to automatically prepend the Torch install location
to PATH and LD_LIBRARY_PATH in your /home/vagrant/.bashrc? (yes/no)
[yes] >>>
yes
[vagrant@localhost torch]$ source .bashrc
[vagrant@localhost torch]$ th
exit
Do you really want to exit ([y]/n)? y

3. Install Protobuf
Protocol Buffers – Google’s data interchange format.
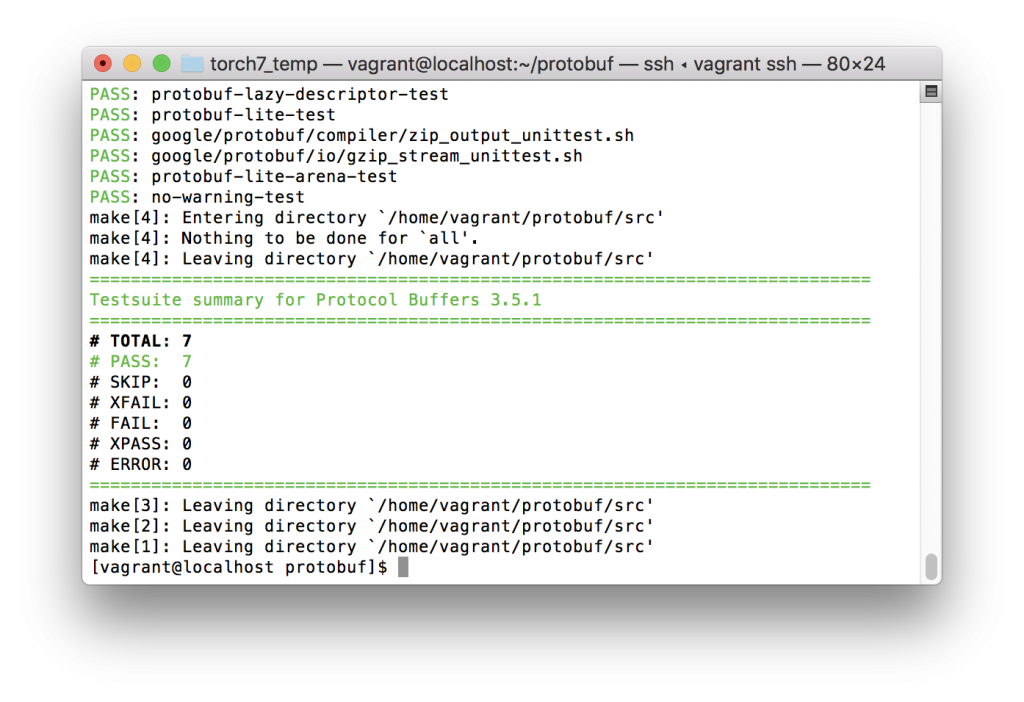
[vagrant@localhost torch]$ sudo yum install autoconf automake libtool unzip gcc-c++ git -y
[vagrant@localhost torch]$ cd
[vagrant@localhost ~]$
[vagrant@localhost ~]$ git clone https://github.com/google/protobuf.git
[vagrant@localhost ~]$ cd protobuf
[vagrant@localhost ~]$ ./autogen.sh
[vagrant@localhost ~]$ ./configure
[vagrant@localhost ~]$ make
[vagrant@localhost ~]$ make check
[vagrant@localhost ~]$ sudo make install
[vagrant@localhost ~]$ sudo ldconfig
[vagrant@localhost ~]$ sudo yum -y install protobuf-compiler
3. Install loadcaffe
To use VGG ILSVRC-2014 19-layer, install loadcaffe.
[vagrant@localhost protobuf]$ luarocks install loadcaffe
4. Install neural-style
See detail here.
[vagrant@localhost protobuf]$ cd
[vagrant@localhost ~]$ git clone https://github.com/jcjohnson/neural-style
[vagrant@localhost ~]$ cd neural-style/
[vagrant@localhost neural-style]$ sh models/download_models.sh
5. Run command
“-gpu -1” option is no GPU use. It is many time to complete. 🙂 *on my MacBook pro 2017 which has not GPU, never finished so far lol
[vagrant@localhost neural-style]$ th neural_style.lua -style_image /vagrant/data/rose-512x512.jpg -content_image /vagrant/data/self-512x512.jpg -gpu -1
Hope this will help you 😗
- Tags
- CentOS 7, neural-style, Torch7, Vagrant

