Record & Transcript – Void – Now added calendar view to easy access to recorded audio.
User Guide
- Application launch


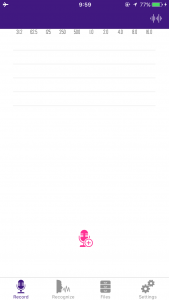
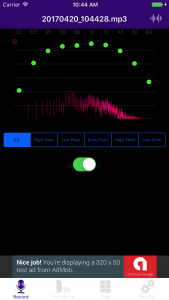
- Voice recording & equalizer
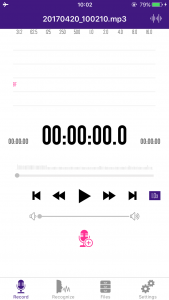
Tap the Microphone icon/pink colored to start recording. If you have needed to change the audio signal to reduce noise, tap the right upper icon. In the equalizer view, tap the switch to enable, then move green dot up and down. When finished, tap the right upper icon to close window.
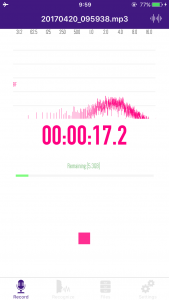
- Stop recording & play audio
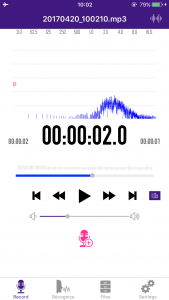
To stop recording, tap the stop icon/pink colored. Then the play button tap to listen audio. If you change the signal, tap the equalizer button. See above.
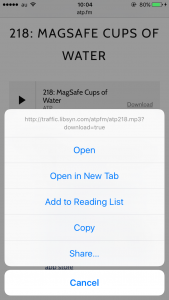
- Share audio
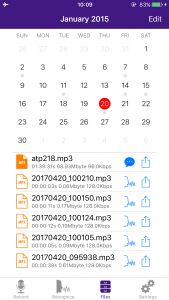
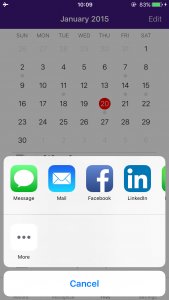
Tap the Files tab icon. You can see recorded file list. If you change the date, you will see file list of it day. To share the audio file, tap the right side share icon. After that Sharing panel will be displayed.
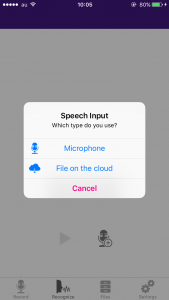
- Speech to Text (ex. audio file which on the internet)
* If you are a noob, this article How to create an account: Speech-To-Text (IBM® Bluemix®) is useful.
Before do the speech to text, go to the web page which located an audio file. Then copy the link of an audio file.
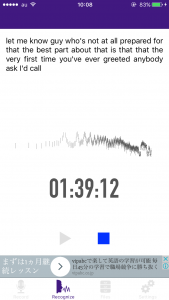
Going back the Void app, then tap the Recognize tab icon and tap the recognize button. Select “File on the cloud” -> paste link -> OK
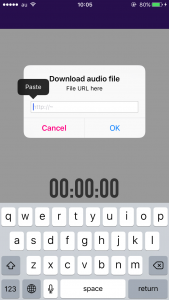
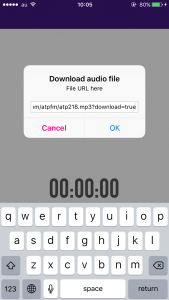
A file download will be started, if download has completed, transcript will start automatically.
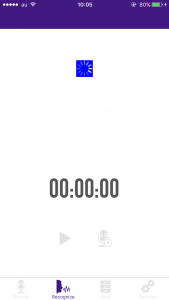
- Stop recognize
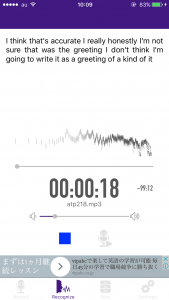
To stop recognize, tap the stop button/blue colored. Then play view will be displayed.
This is a general user guide. If you have a question, please ask anything. 😃